")

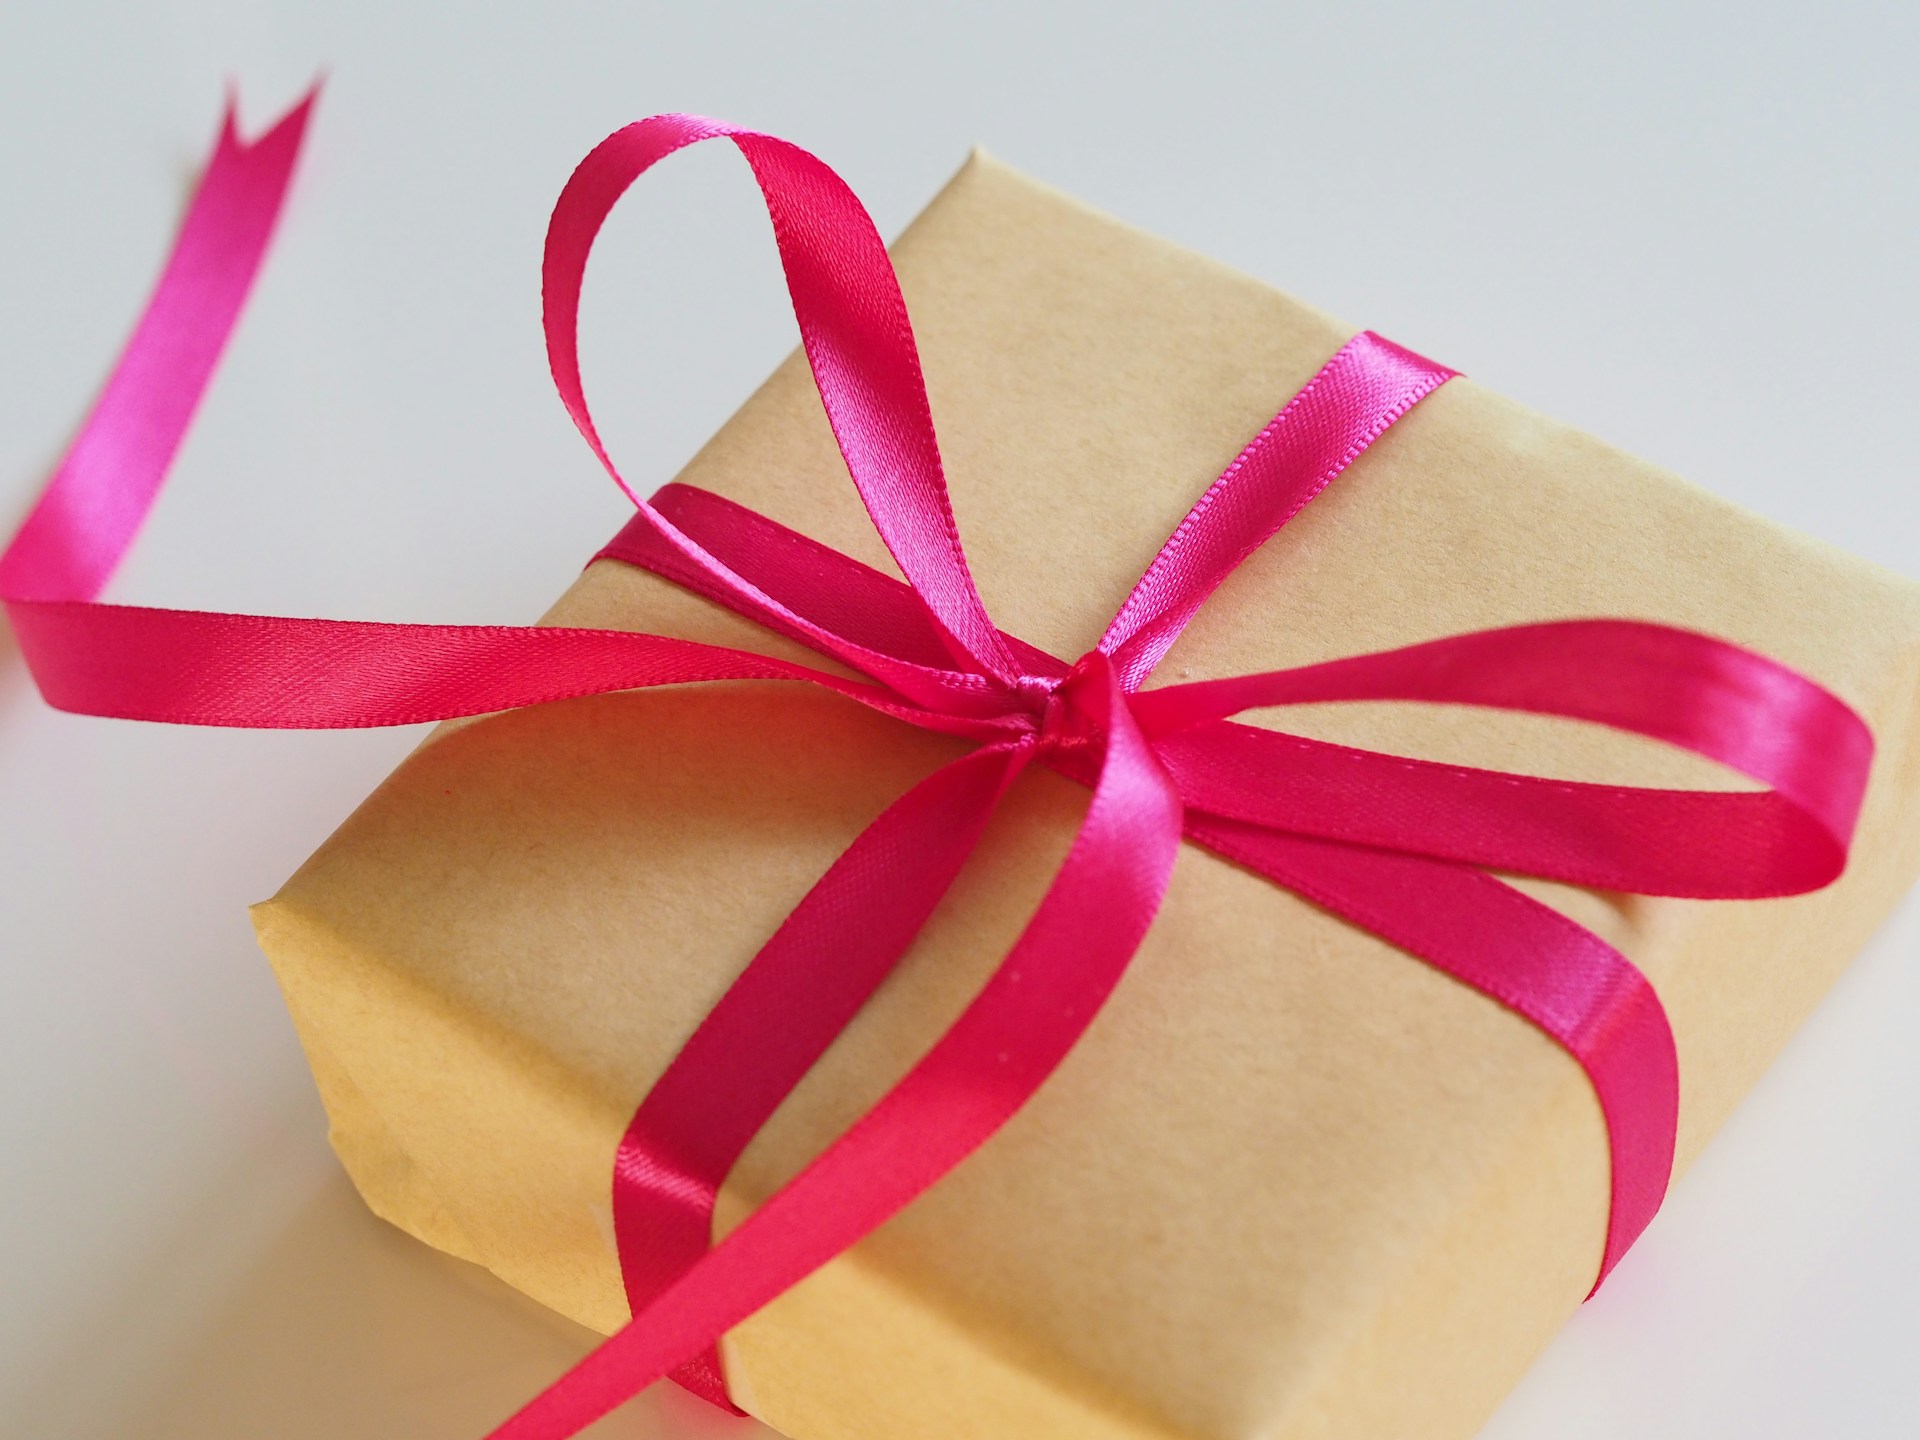
When it comes to gift-giving, presentation plays a huge role in creating excitement and joy. Tying two gifts together with ribbon is a creative way to showcase multiple presents, making the unwrapping experience even more special. Whether you’re presenting a set of matching gifts or two different items for the same person, bundling them together with ribbon not only saves on packaging but also enhances the visual appeal.
At PackAQ, we offer a variety of packaging solutions, from printed ribbons for personalization to high-quality Magnetic Rigid Jewelry Boxes that add a touch of elegance to any gift. In this guide, we’ll show you how to tie two gifts together using ribbon for a beautiful, cohesive presentation.
1. Why Tie Two Gifts Together?
Tying two gifts together with ribbon is more than just a convenient way to package multiple items. Here are a few reasons why this method is a great choice:
- Aesthetic Appeal: When two boxes are tied together with ribbon, they appear as a unified gift, creating a polished and elegant look. This method is ideal for occasions like birthdays, holidays, or weddings, where presentation is just as important as the gift itself.
- Efficiency: If you’re giving two small gifts or items that are part of a set, tying them together saves the need for separate wrapping, reducing packaging waste while also saving time.
- Personalization: Using printed ribbons adds an extra level of personalization, allowing you to customize the ribbon with the recipient’s name, a meaningful message, or even a logo for corporate gifting.
Now that we’ve covered the benefits, let’s move on to how you can beautifully tie two gifts together with ribbon.
2. Materials You Will Need
To get started, you’ll need the following materials:
- Ribbon: Choose a ribbon that complements the color and style of your gift boxes. For a more personal touch, consider using printed ribbons from PackAQ.
- Two Gift Boxes: The gifts should be securely packaged in boxes. If you’re giving jewelry or small luxury items, a Magnetic Rigid Jewelry Box from PackAQ is an excellent choice for a high-quality, sturdy, and elegant packaging option.
- Tape: Double-sided tape can help hold the ribbon in place as you tie it around the boxes.
- Scissors: Ensure your scissors are sharp for clean cuts and a neat finish.
3. Choosing the Right Ribbon and Box Combination
Before tying your gifts together, it’s important to choose the right ribbon and box combination. The boxes should be similar in size or complement each other in terms of design, and the ribbon should be thick enough to hold the boxes securely but not too bulky.
For luxury gifts, like jewelry or high-end accessories, a Magnetic Rigid Jewelry Box paired with a satin or grosgrain ribbon can make the presentation stand out. For more casual gifts, you might opt for a more playful combination, such as a printed ribbon paired with colorful boxes.
When using printed ribbons, consider adding the recipient’s name, a special date, or even a custom message that enhances the overall gift-giving experience.
4. Step-by-Step Guide to Tying Two Gifts Together with Ribbon
Step 1: Position the Gift Boxes
Start by positioning the two gift boxes on top of each other. If the boxes are of different sizes, place the smaller box on top of the larger one for balance and stability. Make sure both boxes are aligned neatly, so the final presentation looks polished.
If you’re using a Magnetic Rigid Jewelry Box for the smaller gift, its sturdy build will ensure that it stays securely on top of the larger box without slipping.
Step 2: Cut the Ribbon to the Correct Length
Measure the ribbon before cutting to ensure you have enough length to wrap around both boxes and tie a bow. A good rule of thumb is to measure the circumference of both boxes and add an extra 24 to 36 inches, depending on the size of the bow you’d like to create.
For example, if the combined height and width of the stacked boxes are 30 inches, add at least 24 inches to that measurement to ensure enough ribbon for a neat and full bow.
Step 3: Place the Ribbon Underneath the Bottom Box
Start by placing the ribbon underneath the bottom box. Make sure the ribbon is centered, with equal lengths on both sides, to ensure a balanced wrap.
You can also use a small piece of double-sided tape on the underside of the bottom box to keep the ribbon in place as you begin wrapping.
Step 4: Wrap the Ribbon Vertically Around the Boxes
Bring both ends of the ribbon up and over the top of the stacked gift boxes. Cross the ribbon in the center, then pull the ends back down to the bottom of the boxes. This creates the first part of your cross-wrap design.
For added security, you can place a small piece of tape where the ribbon crosses on top of the boxes. This will help keep the ribbon in place while you finish the wrap.
Step 5: Wrap the Ribbon Horizontally Around the Boxes
Now, take both ends of the ribbon and wrap them horizontally around the gift boxes. Make sure to cross the ribbon again at the back of the boxes, bringing the ends back to the front.
This forms a cross on the top of the gift boxes, securely holding them together and adding a decorative touch.
Step 6: Tie a Bow on Top
Once the ribbon has been wrapped around both boxes vertically and horizontally, it’s time to tie a bow. Here’s how:
- Bring both ends of the ribbon to the center of the top box and tie a simple knot to secure them in place.
- Create two loops with the ribbon (one with each end) and cross one loop over the other.
- Pull the loop through the knot to form a bow, adjusting the loops to ensure they’re even.
- Tighten the bow and fluff the loops for a fuller, more polished look.
If you’re using printed ribbons from PackAQ, make sure the printed side is visible and displayed prominently on the bow for a personalized touch.
Step 7: Trim the Ribbon Ends
After tying the bow, trim the ends of the ribbon for a clean finish. You can cut the ends at an angle for a sleek look or create a “V” shape by folding the ribbon in half and cutting a diagonal notch. This gives the bow a polished, professional appearance.
5. Creative Ideas for Tying Two Gifts Together
Once you’ve mastered the basic method of tying two gifts together with ribbon, here are some creative ways to enhance your gift presentation:
- Layered Ribbons: For a more luxurious look, try layering different types of ribbon, such as combining a thick satin ribbon with a thinner printed ribbon for contrast.
- Add Embellishments: Personalize the bow by adding small charms, flowers, or ornaments into the knot of the bow. This adds a unique touch that reflects the occasion, whether it’s a wedding, holiday, or special event.
- Multiple Bows: Instead of tying one large bow, consider adding multiple smaller bows in different colors or textures for a playful, creative effect.
Tying two gifts together with ribbon is a simple yet effective way to create a beautiful and cohesive presentation. Whether you’re using elegant Magnetic Rigid Jewelry Boxes or custom printed ribbons from PackAQ, following these steps ensures your gift looks polished and well-thought-out.
At PackAQ, we provide everything you need to make your gifts stand out, from high-quality ribbons to premium packaging solutions. Try out this technique for your next special occasion, and see how a carefully tied ribbon can elevate your gift-giving experience.